Microsoft flow helps you to simplify your day to day repetitive tasks to flows, that can run or execute automatically without much manual intervention.
If you are a little familiar with Dynamics 365 processes or out of box workflows, where we usually configure actions for a repetitive task.
We will create a basic flow which will email new contacts created in Dynamics from the administrator confirming the contact has been created.
Step 1: Access Microsoft flow directly from this URL: https://flow.microsoft.com
Step 2: Or if you have an Office 365 subscription, you can directly access Power Automate or flow from the Office 365 App launcher.

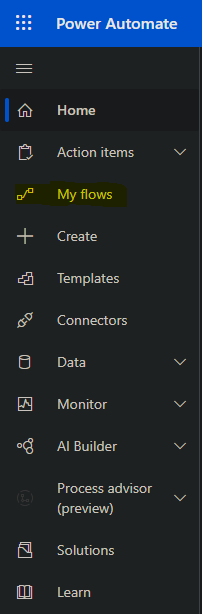
Step 3: On the left hand of the screen we can navigate to “My flows” and select “New Flow” and from this dropdown menu we select “Automated cloud flow”.
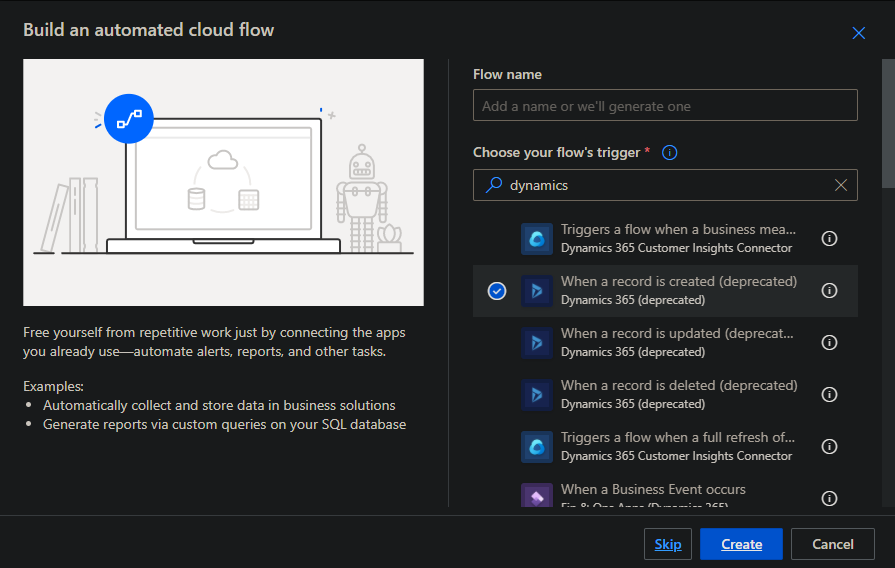
Step 4: You will see a prompt window like below, we can set the flow name to test. From this window, we can search “dynamics” and select the following “flow trigger” – “When a record is created”.
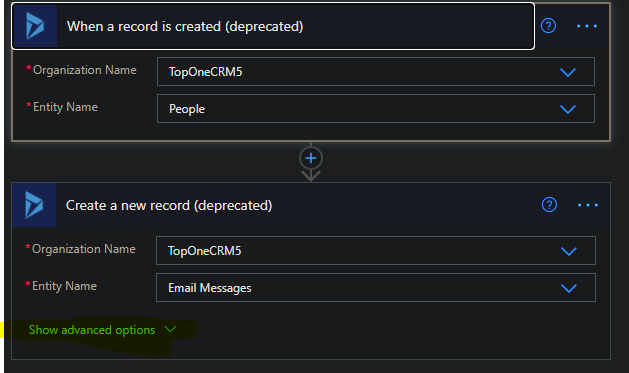
Step 5: Now we can select the entity’s from our Dynamics 365 which we would like to select to help automate our task. In the example below I have selected “People” and “Email Messages”. This is so when a new Person (People) is created we would like to send an email to the new contact confirming a Contact has been created. Once we have the correctly selected organisation and entity we can now click on the drop-down menu “Show advanced options”.
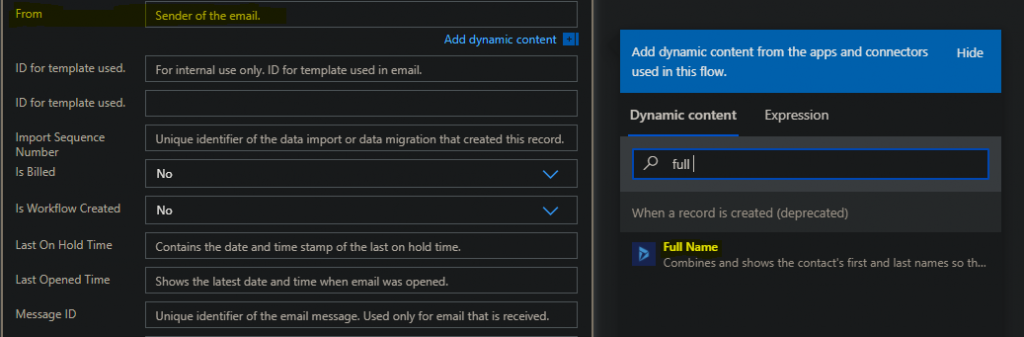
Step 6: Now we can select the sender of the email, which will be the First Name. This will include the name of the sender which the contact will see in the automated email that will be sent to them.
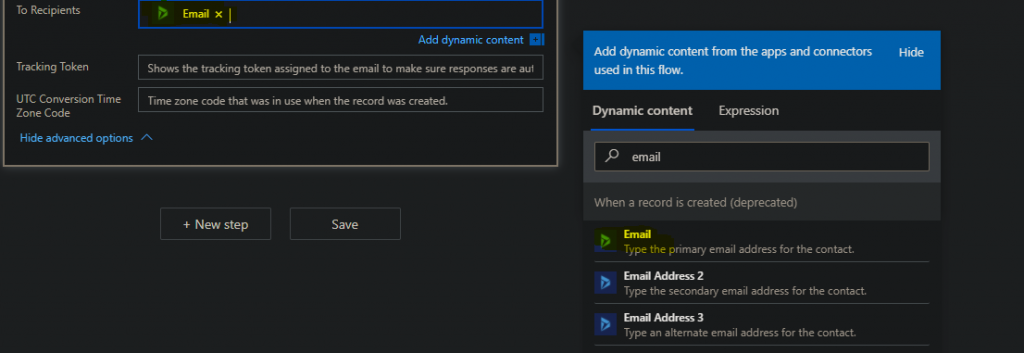
Step 7: Now we have to set the recipient of the Email. This will be email that is entered upon creation of the contact in Dynamics. It is set so every new entry in contacts will look for the email and send it to that address.
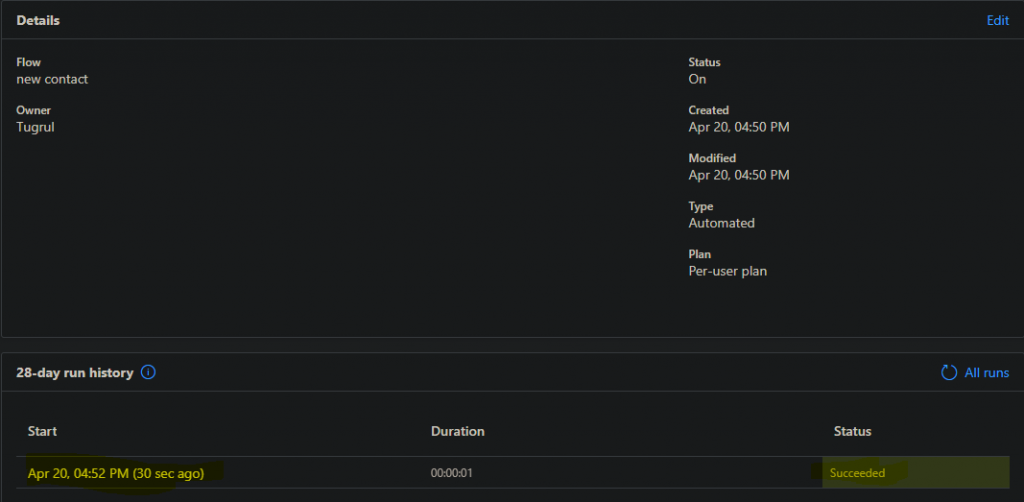
Step 8: Finally we can test our Flow by selecting test on the top right of the screen. Here we can select manual test and create our Contact in Dynamics 365. Once the contact is created with an Email we will see a Succeeded message on our test, and if expanded it should list the email entered when Contact is created.